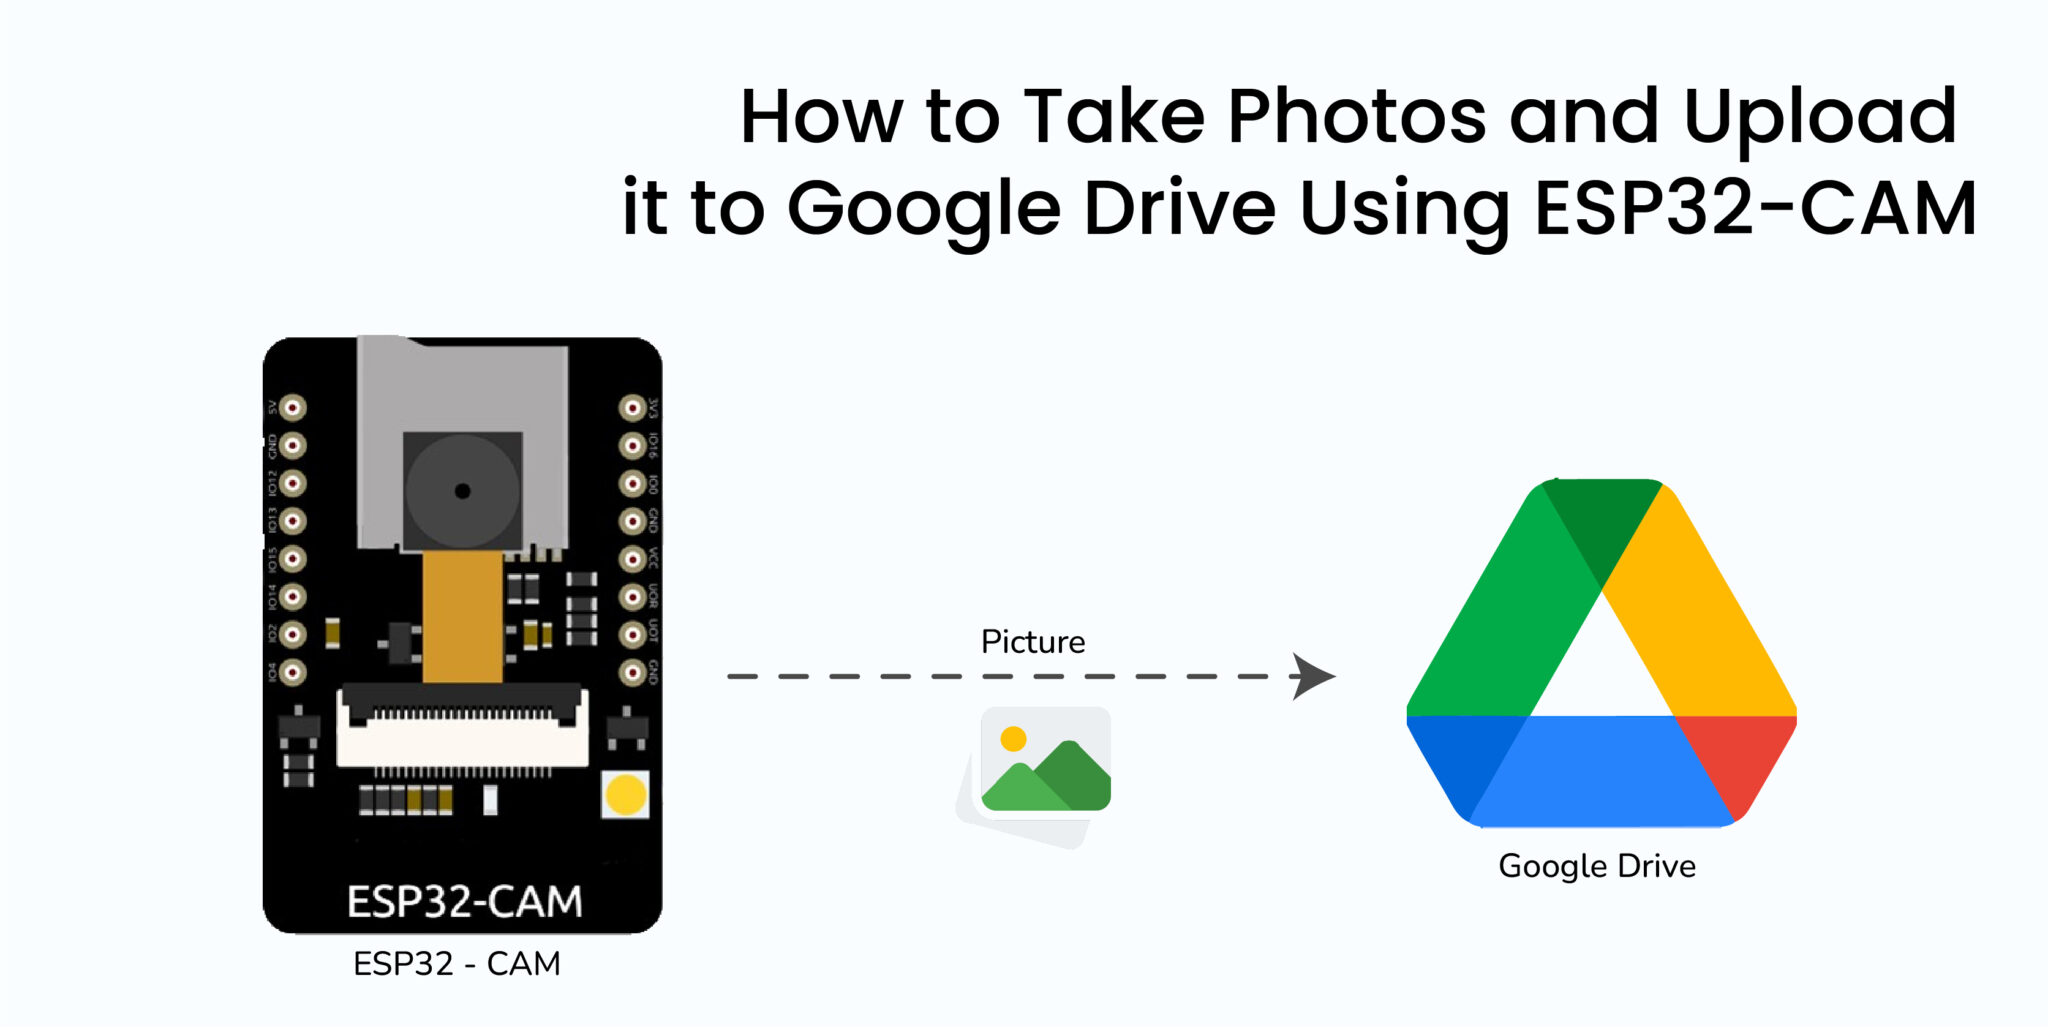
In this
tutorial we will see how to take photos and upload them to a google drive
folder using ESP32 cam.
The first
step is to use the google script to built a simple program in which the image
is received and gets stored in a certain folder, for achieving this go to google
drive->new->more->google apps scripts.

An editor will be opened for you replace the total content with the following code
https://github.com/gsampallo/esp32cam-gdrive/blob/master/upload.gs
The program receives three parameters:
- The data itself, which consists of the image, encoded in base64.
- It will receive the type of data that is sent, in our case it will be image/jpeg.
- It also receives the name of the file.

Now rename the project name by
clicking on untitled project and save the project.

Now click on deploy->New deployment.

You will be taken to a new page click on select type->web app.

Give new description name and give access to anyone. Now click on authorize access.

You have to choose an account and click on advanced.


Now you have to click go to esp32_cam which will take you to a new page, now you have to give permission to access your google account.

You will be given a new URL just copy the web app URL and click on done.

CREATING NEW
FOLDER:
For creating
a new folder go to google drive->my drive->New folder.

Just copy and paste the folder name which you have created in your program and click on create.

At this point we are ready to load the program in the ESP32-CAM, we will create a new program with the Arduino IDE called ESP32-CAM Drive. Create a folder where the ESP32-CAM_Drive.ino file is; in this folder we will copy the Base64.cpp and Base64.h files.
https://github.com/gsampallo/esp32cam-gdrive/blob/master/esp32cam-gdrive.ino
https://github.com/gsampallo/esp32cam-gdrive/blob/master/Base64.cpp
https://github.com/gsampallo/esp32cam-gdrive/blob/master/Base64.h
Within the code we have to replace three parameters the name and password of the WIFI network and the URL of the script we have created earlier.
const char* ssid = “SSID”; //your network SSID
const char* password = “PASSWORD”; //your network password
String myScript = “/macros/s/XXXXXXXXXXXXX/exec”; //Replace with your own URL
https://script.google.com/macros/s/AKfycbwaDJCy2JO7ccyGKZrGWqD19iKsB48KD_1BrJzCyXq8mfAvTYyISpILZaMNf4F-vlBc/exec
NOTE: If your script.google.com is not getting connected just include client.setInsecure(); Just add this line before the connection part in the code.

Now upload the program, After the program gets uploaded, we have to disconnect GND and IO0 and restart the ESP32 CAM. Now open the serial monitor it will be something similar to this:
The image taken by ESP32 CAM will be saved in the ESP32-CAM folder (which we have created earlier) within the google drive, if we check the folder, we will have the photos that the device had taken.

