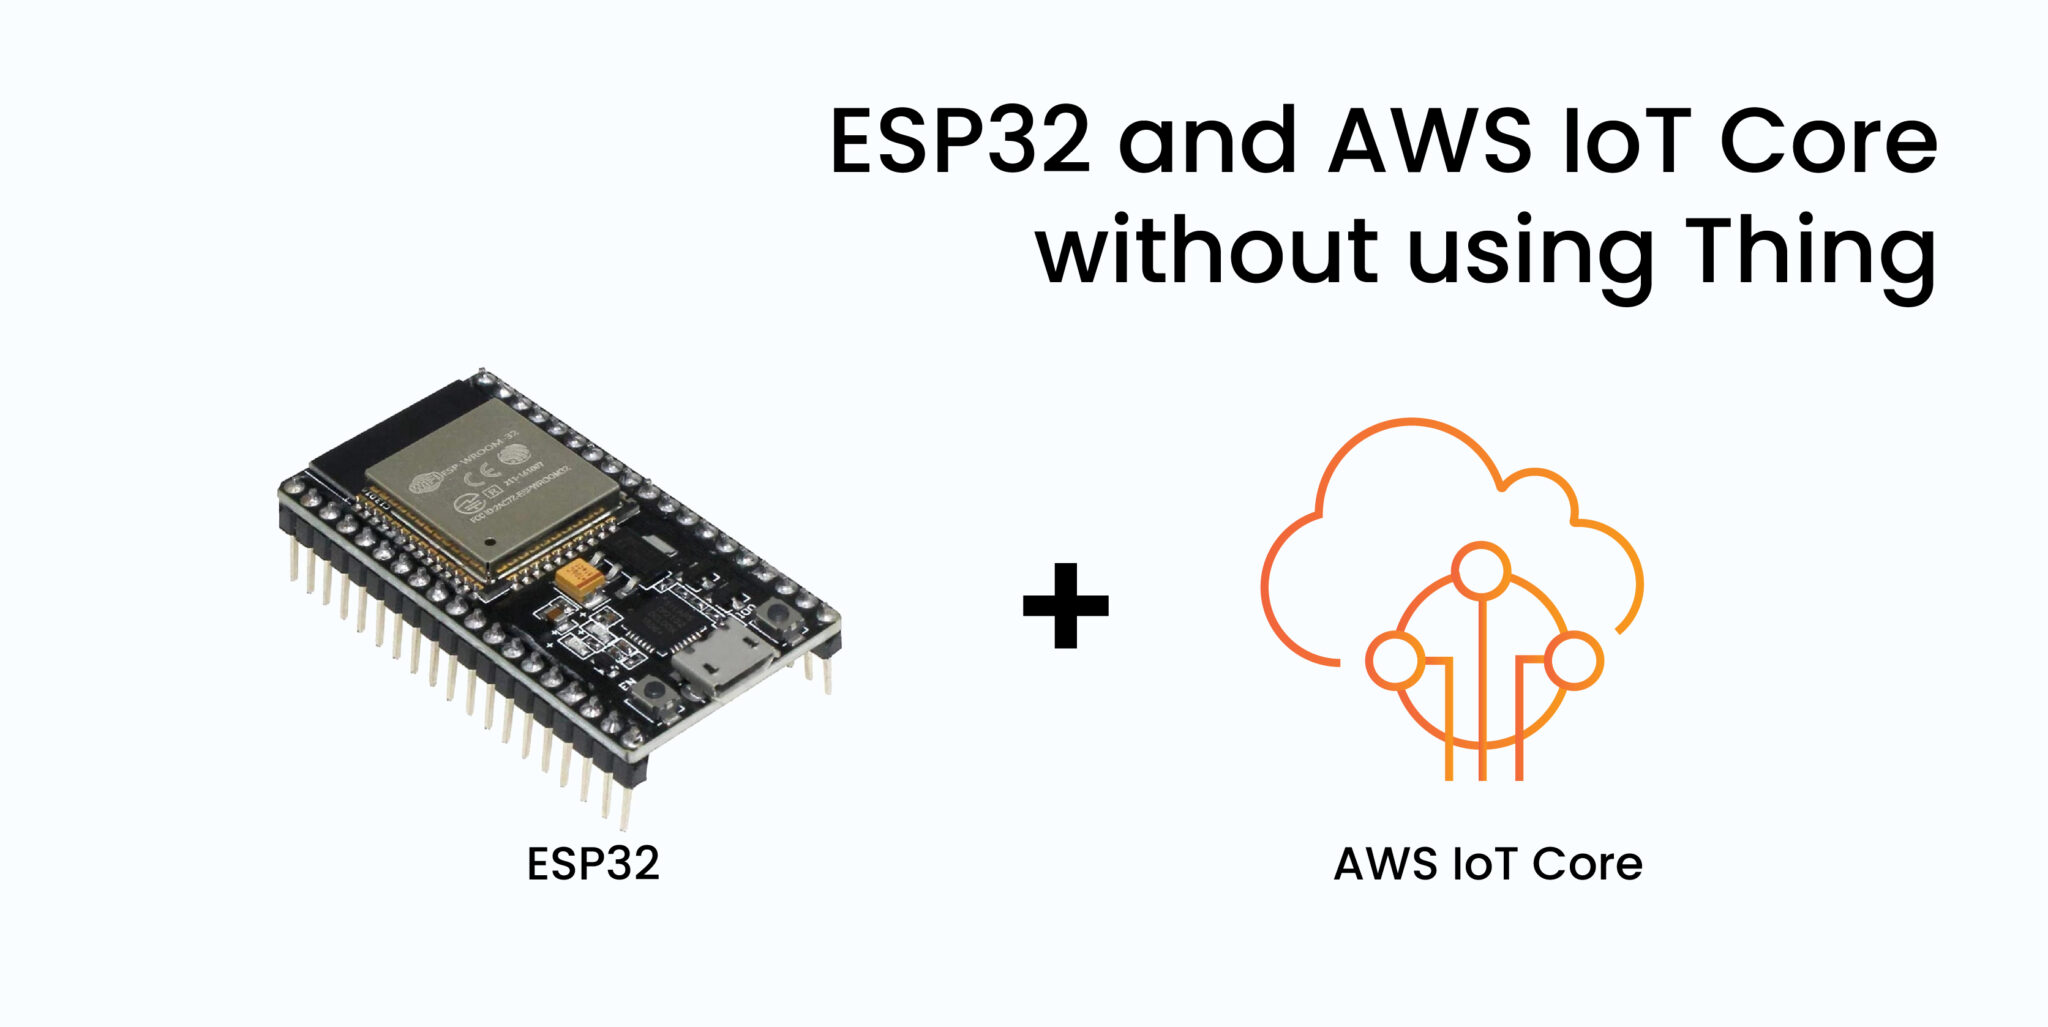
In this tutorial we will learn how to connect ESP32 with AWS IoT core and publish JSON format data without adding AWS IoT thing. The ESP32 will connect to the WIFI network and publish data to AWS IOT cloud. We will also cover how to send/receive data from AWS IoT dashboard.
This tutorial covers multiple sections:
- Installing necessary libraries to Arduino IDE.
- Generating certificates.
- Creating policy.
- Subscribe and publish data to and from AWS dashboard.
What is AWS IOT Core?
AWS IoT provides cloud
services which helps you to connect IoT devices with other devices and AWS
Cloud services.

AWS IoT allows you to select the most appropriate and up-to-date technologies for your solution. AWS IoT core supports these protocols:
*MQTT (Message queuing and Telemetry Transport).
*MQTT over WSS (Web sockets Secure).
*HTTPS (Hypertext Transfer Protocol- Secure).
*LoRaWAN (Long Range-wide area network).
AWS IoT Core Dashboard:
After successfully signing in, the amazon console home page will get opened. In the service tab at the top search for IoT Core and then hit enter.

After entering the AWS IoT Core homepage, you will view a set of menus on the left. We are going to handle only two menus one is test and the other is manage.

GENERATE DEVICE CERTIFICATE:
For generating new certificate click on security->certificates. Then click on Add certificate->create certificate.

Once you click on create certificate it will take you to a new page, check whether your status is active and click on create.

You will get a pop-up page just download device certificate, public key file, private key file, there will be two root CA certificates just download amazon root CA1.
Out of these you need to use device certificate, private key file and amazon root CA1.
A device needs a certificate to connect to AWS IoT Core.
Next, open the downloaded certificates and key files in a text editor like notepad and open the device certificate in code editor like VS code and copy the content and paste it in the specified location in the code.

CREATING POLICY:
We have successfully created certificates next we have to attach a policy to the certificate. In the left side menu click on security->policies and click on create policy.


Now give policy a suitable name. For example, you give it a name as esp32 policy.

Now the policy statement part is very important. Here we will only need to publish, subscribe, connect and receive.
Now under the policy document attach four policy actions.
*IoT: Connect
*IoT: Publish
*IoT: Receive
*IoT: Subscribe and click on create.

Now click on create policy and your policy will be created successfully.
Attaching policy to the certificate:
Now go back to security->certificates and click on the certificate you have created.

Now click on policies->Attach policies and select the policy you have created and click on attach policies.

INSTALLING NECESSARY ARDUINO LIBRARIES:
1.ArduinoJSON Library:
So first click on include library->Manage libraries and search for JSON.

2.PubSubClient Library:
Now again go to include library->manage libraries and search for PubSubClient library.

SOURCE CODE:
This code explains how to interface ESP32 with Amazon AWS IoT Core and to publish and subscribe data without using thing.
#include <WiFi.h>
#include <WiFiClientSecure.h>
#include <ArduinoMqttClient.h>
// WiFi Info
const char WIFI_SSID[] = "XXXXXX";
const char WIFI_PASSWORD[] = "XXXXXX";
const char AWS_IOT_ENDPOINT[] = "XXXXXXXXXXXXXXXXXX”;
    const char MQTT_PUB_TOPIC[] = "esp32/pub";
const char MQTT_SUB_TOPIC[] = "esp32/sub";
char payload[] =  "{"devID":"P00002","time":"03/12/2021
18:00:04","temp":26.198640136718744,"humid":61.596435546875,
"lux":14.19,"stemp":26.125,"picture":"*****"}";
// Amazon Root CA 1
static const char AWS_CERT_CA[] PROGMEM = R"EOF(
    -----BEGIN CERTIFICATE-----
    -----END CERTIFICATE-----
    )EOF";
// Device Certificate
static const char AWS_CERT_CRT[] PROGMEM = R"KEY(
    -----BEGIN CERTIFICATE-----
    -----END CERTIFICATE-----
    )KEY";
// Device Private Key
static const char AWS_CERT_PRIVATE[] PROGMEM = R"KEY(
    -----BEGIN RSA PRIVATE KEY-----
    -----END RSA PRIVATE KEY-----
    )KEY";
WiFiClientSecure wifiClient = WiFiClientSecure();
MqttClient mqttClient(wifiClient);
void setup()
{
    // put your setup code here, to run once:
    // initialize the serial port
    Serial.begin(115200);
    // Connect to Wi-Fi network with SSID and password
    Serial.print("Connecting to ");
    Serial.println(WIFI_SSID);
    WiFi.begin(WIFI_SSID, WIFI_PASSWORD);
    while (WiFi.status() != WL_CONNECTED)
    {
        delay(500);
        Serial.print(".");
    }
    // Print local IP address
    Serial.println("");
    Serial.println("WiFi connected.");
    Serial.println("IP address: ");
    Serial.println(WiFi.localIP());
    // Connect to AWS IoT
    wifiClient.setCACert(AWS_CERT_CA);
    wifiClient.setCertificate(AWS_CERT_CRT);
    wifiClient.setPrivateKey(AWS_CERT_PRIVATE);
    if (mqttClient.connect(AWS_IOT_ENDPOINT, 8883))
    {
        Serial.println("You're connected to the MQTT broker!");
        Serial.println();
    }
    else
    {
        Serial.print("MQTT connection failed! Error code = ");
        Serial.println(mqttClient.connectError());
    }
    // Subscribe to MQTT and register a callback
    mqttClient.onMessage(messageHandler);
    mqttClient.subscribe(MQTT_PUB_TOPIC);
    mqttClient.beginMessage(MQTT_SUB_TOPIC);
    mqttClient.print(payload);
    // mqttClient.print("this is test");
    mqttClient.endMessage();
}
void loop()
{
    // put your main code here, to run repeatedly:
    mqttClient.poll();
    delay(1000);
}
void messageHandler(int messageSize)
{
    // we received a message, print out the topic and contents
    Serial.print("Received a message with topic '");
    Serial.print(mqttClient.messageTopic());
    // use the Stream interface to print the contents
    while (mqttClient.available())
    {
        Serial.print((char)mqttClient.read());
    }
    Serial.println("");
}
MODIFYING ARDUINO SKETCH:
Under WIFI_SSID and WIFI_PASSWORD. Enter your WIFI SSID and password of your local network.
const char WIFI_SSID[] = "XXXXXX";
const char WIFI_PASSWORD[] = "XXXXXX";
Now for getting the endpoint. Go to the left navigation panel settings and your endpoint will be available under device data endpoint.
const char AWS_IOT_ENDPOINT[ ] = "XXXXXXXXXXXXXXXXX";
Under the Amazon root CA1 certificate, Device certificate,
Device private key certificate we need to paste the certificates. So, open the
certificates that we have downloaded earlier. Copy the text and paste it
between the begin certificate and end certificate like the one shown below.
// Amazon Root CA 1
static const char AWS_CERT_CA[] PROGMEM = R"EOF(
-----BEGIN CERTIFICATE-----
-----END CERTIFICATE-----
)EOF";
Do the same for the other two certificates (Device certificate and Device private key certificate).
PUBLISHING AND SUBSCRIPTION OF DATA:
Once all the modulation is done, Connect Esp32 to your computer and select the board and COM port. Then click on upload option and upload the files to the ESP32 board.

PUBLISHING DATA TO SERIAL MONITOR:
Once your code gets uploaded, Open your serial monitor. When ESP32 gets connected to WIFI it will get connected to the MQTT broker. Now go to the AWS and click on Test->MQTT test client and enter your topic name.

You will receive a message from AWS to esp32 which you can view it on the serial monitor.

SUBSCRIBING DATA TO SERIAL MONITOR:
Now to see the data, you need to subscribe to a topic, for that enter the subscription topic under the topic filter and then click subscribe. When you hit the subscribe button, the data from ESP32 will be uploaded to AWS IoT Dashboard.
SUBSCRIBING DATA TO SERIAL MONITOR:
Now to see the data, you need to subscribe to a topic, for that enter the subscription topic under the topic filter and then click subscribe. When you hit the subscribe button, the data from ESP32 will be uploaded to AWS IoT Dashboard.

